How to start selling your video on Shutterstock
There are only few things you need to do in order to start selling your videos on Shutterstock:
- Register as a contributor
- Add metadata to your video
- Upload your video to Shutterstock
- Submit your video for review
This blog post covers video upload and submission process and we assume you are already a contributor on Shutterstock. If not, go to registration page and complete the process. You can check Shutterstock video guide that might help you with the registration.
Video requirements on Shutterstock
In general you cannot upload any video to Shutterstock although they accept quite wide range of formats and specs.
Most important video requirements:
- Shutterstock accepts only
.movor.mp4video files. All other formats should be converted into those two. - Duration of the video should be between 5 and 60 seconds.
- Your video file size should not exceeed 4GB.
- Most popular accepted codecs are PhotoJPEG, MotionJPEG, H.264, PNG, MPEG-4
- No audio tracks preferred (unless it is strictly necessary)
There’re lots of technical requirements with regards to frame rate, codecs and screen resolution size. But if your video satisfies those outlined above, most probably you’re good to go.
Also you may be interested to know that you can upload 4K video to Shutterstock without any problems. Supported resolutions are 4096x2160, 4096×2160, 4096×2304, 4000×2160 and couple of others.
How to add metadata to video files
All files sold on Shutterstock have metadata attached to them than helps customers to find those files. This metadata most often means Description, Keywords and Category. If your videos feature recognizable people you also need to attach a Model Release.
There’re two main ways to add metadata to video files:
- If you sell only on Shutterstock then you can upload your files first and add metadata on Shutterstock Contributor portal.
- If you plan to sell on more than one microstock website (e.g. also sell on Adobe Stock or Pond5) then it will be better to add metadata before upload.
Another important thing you need to know is that Shutterstock reads embedded metadata in .jpg files for photos, but not for video. Instead Shutterstock, Pond5 and some other microstocks accept a separate CSV file with metadata. CSV file is like a simplified Excel spreadsheet where each row is a file you upload and each column contains some specific metadata like description or keywords. If you upload many videos or you upload videos to more than 1 microstock then CSV file is the way to go.
Adding metadata to video before upload
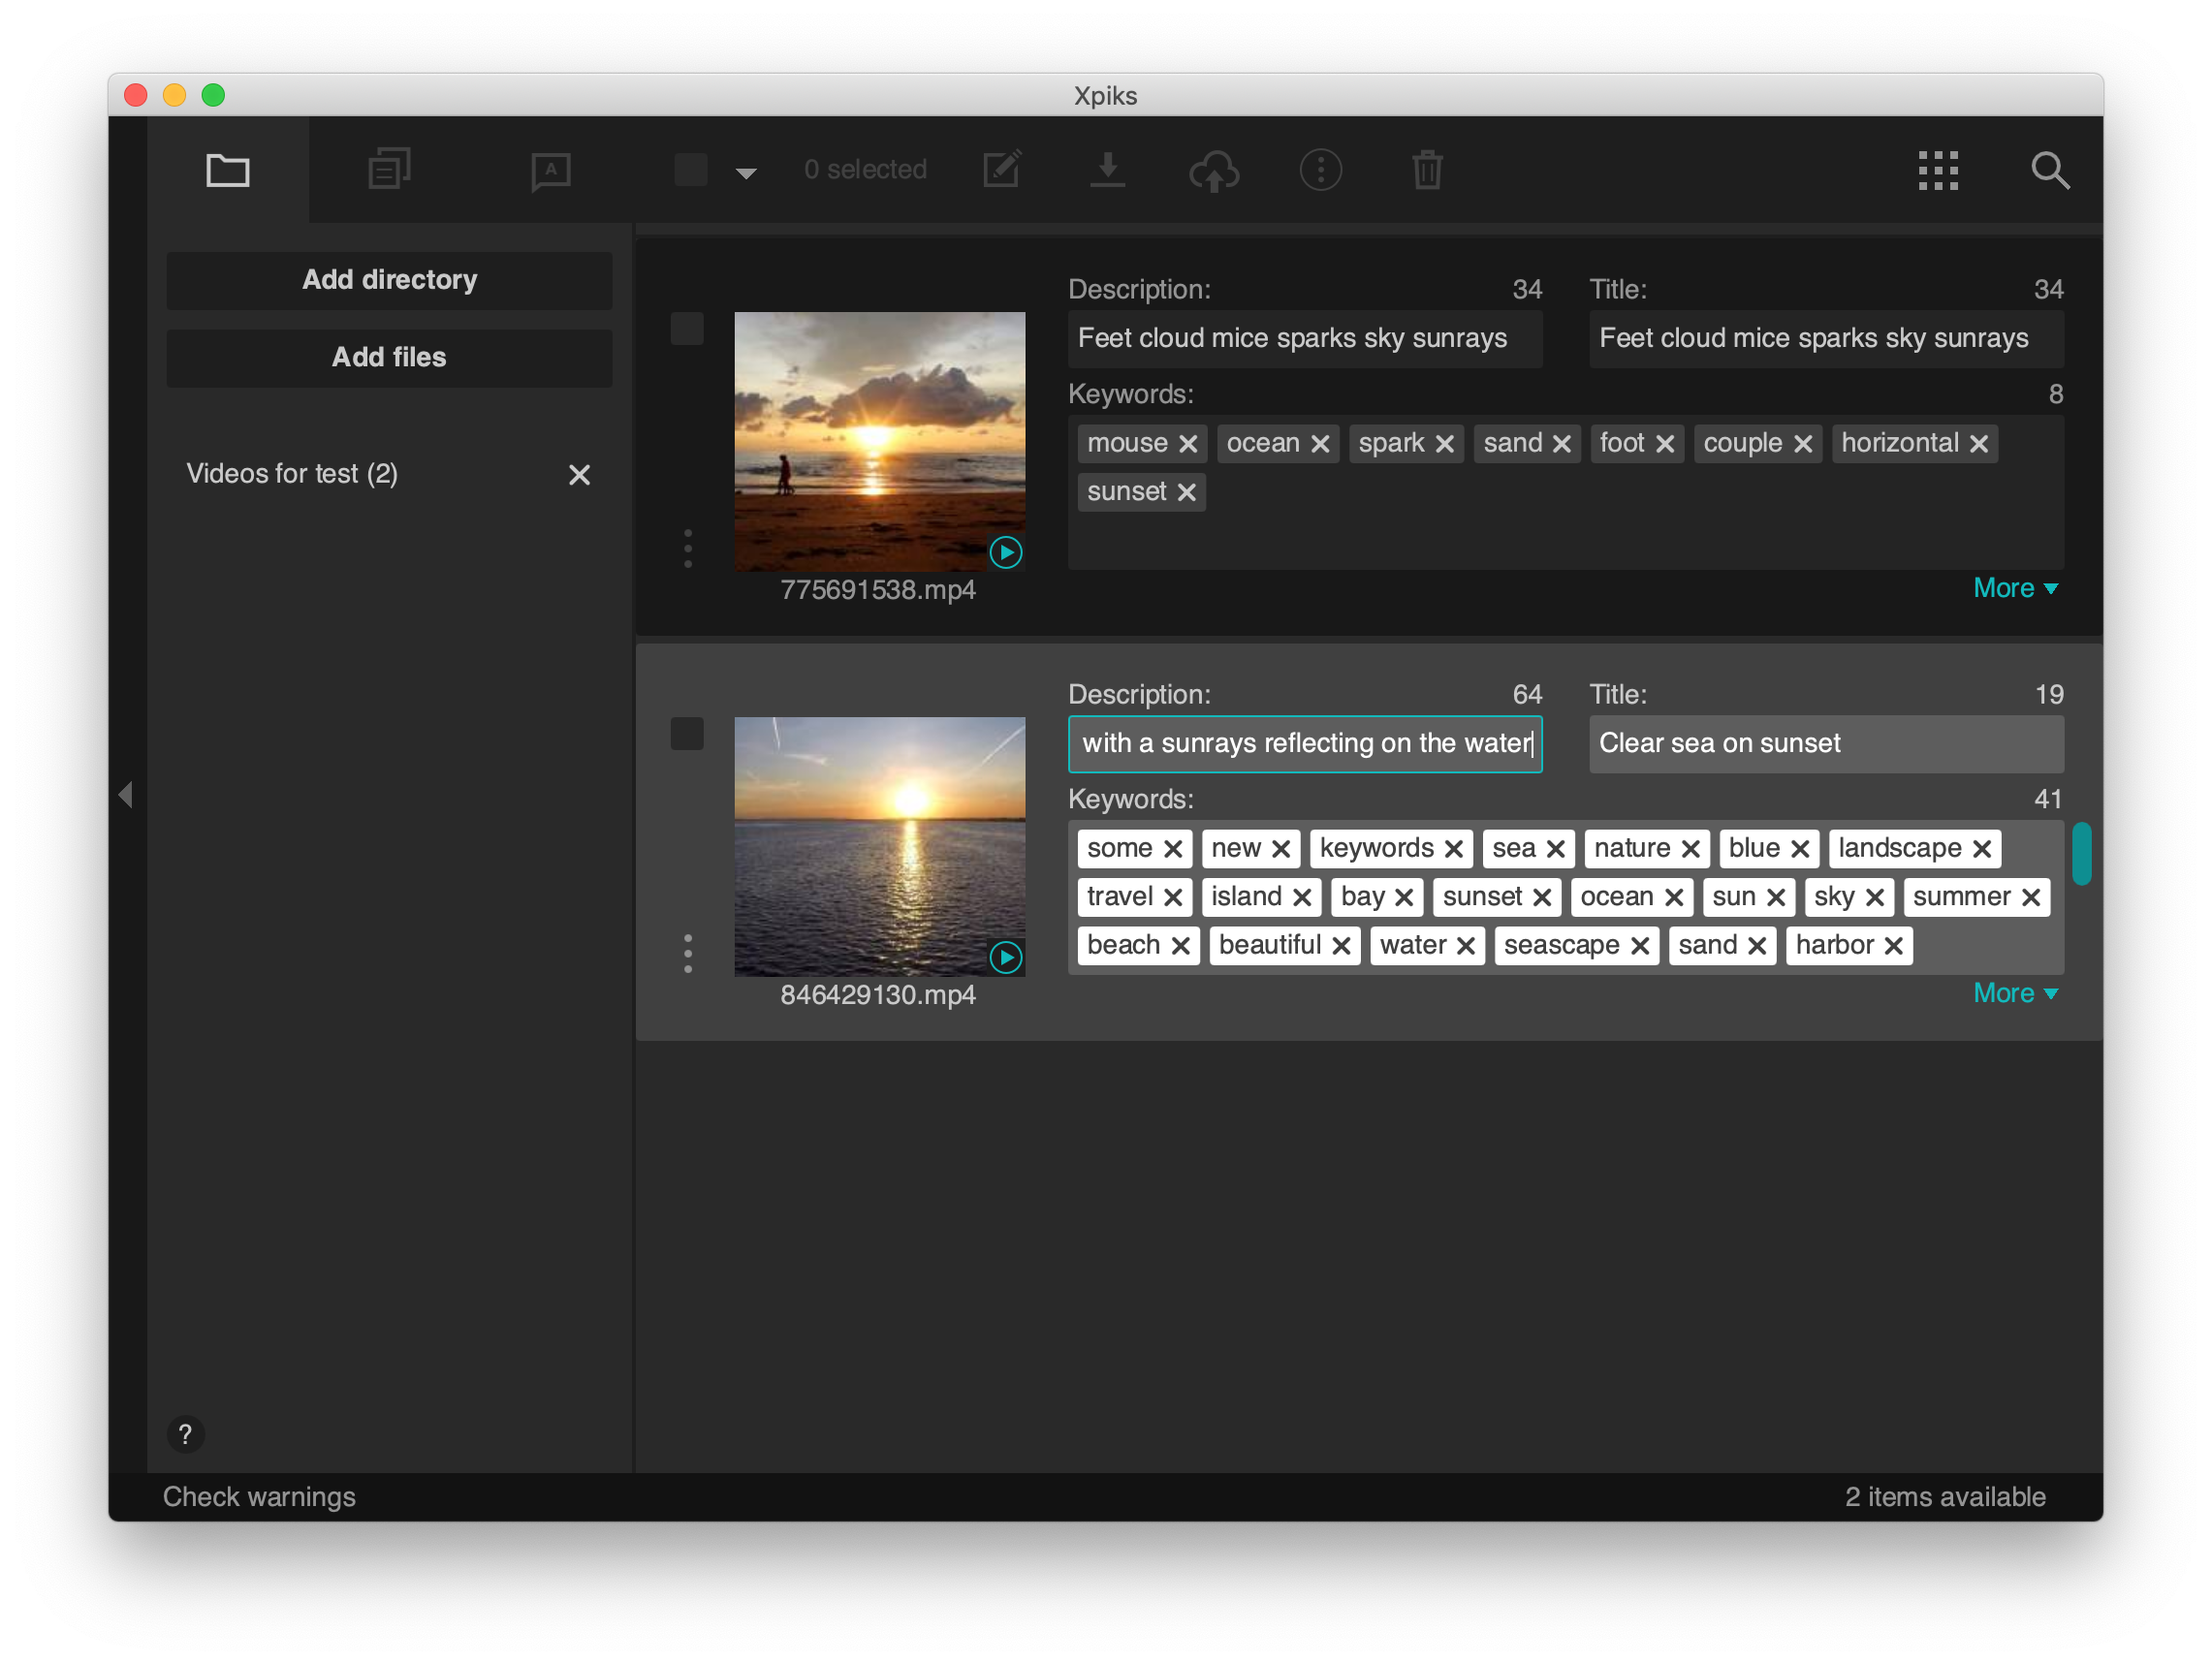
First open your videos in Xpiks. You can drag’n’drop them or select through “Add files” dialog.
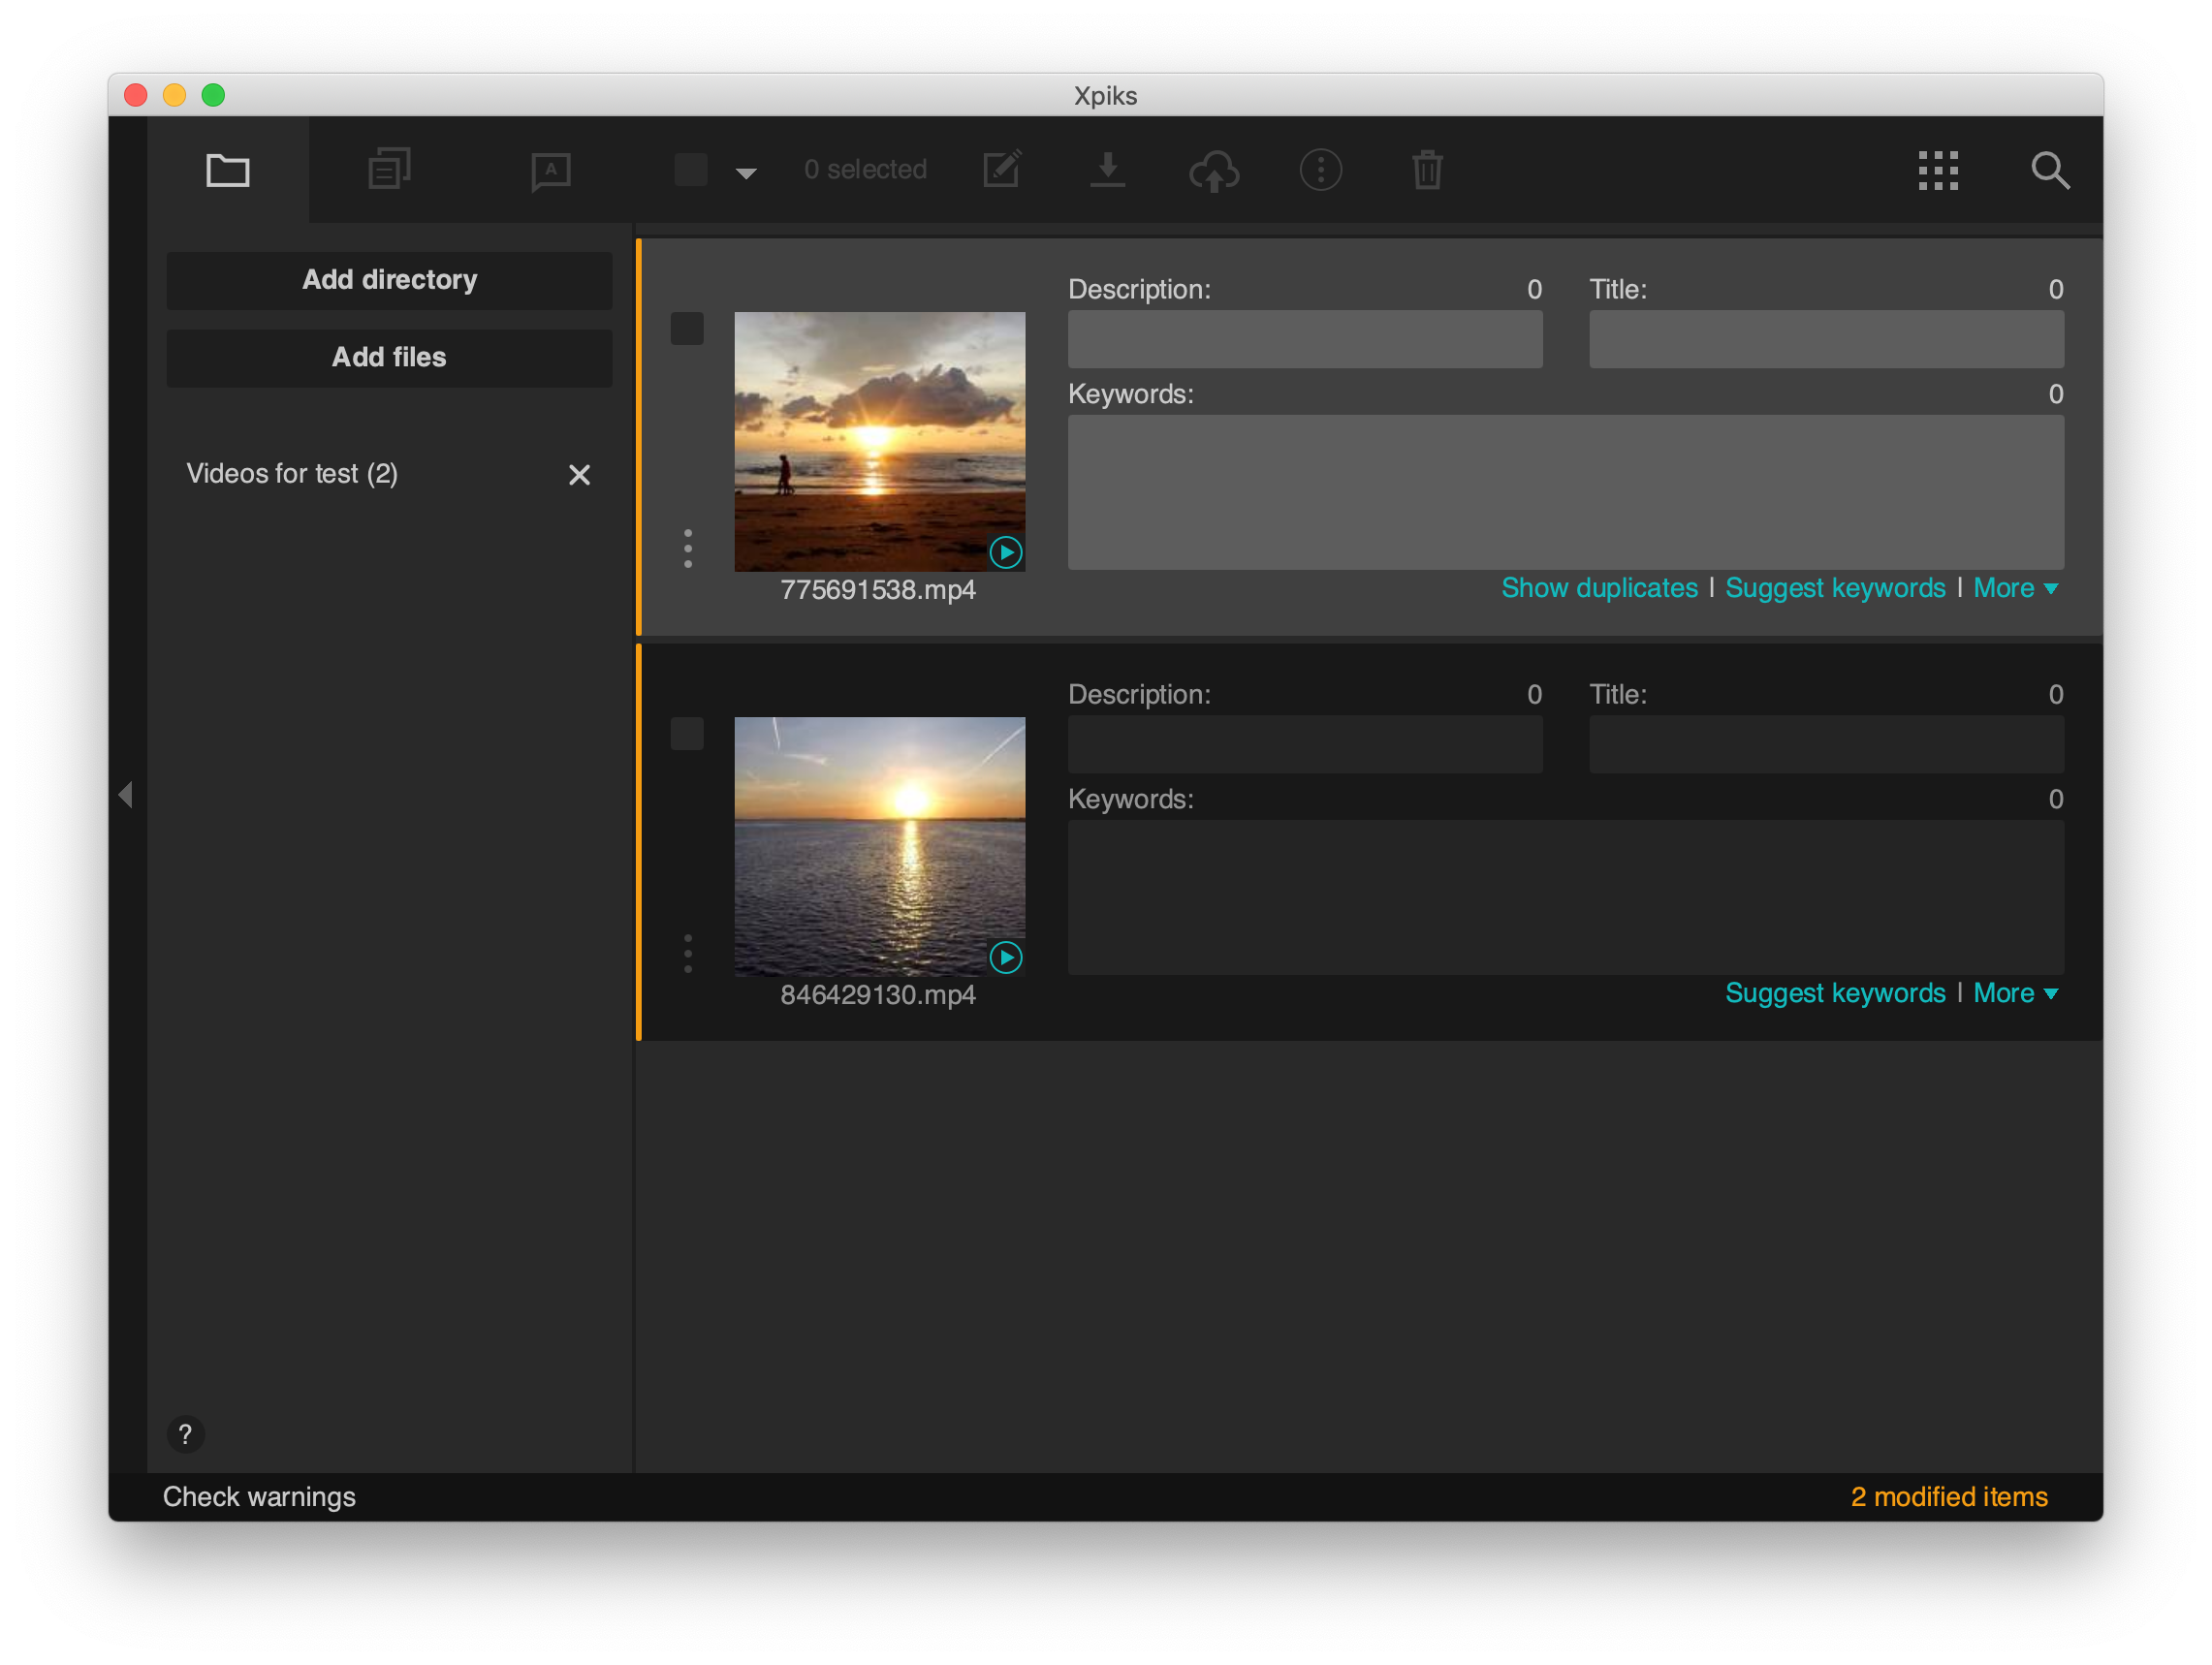
Then fill in metadata like Title, Description and Keywords and save files. This post is only about uploading video so if you’re interested how to add Title, Description and Keywords, check out Xpiks tutorials.
After you saved the changes you are ready to upload the files.
Preparing CSV file with metadata for videos
Each microstock has their own format of CSV files and in Xpiks you can either use a ready template or create your own. Select files that you want to upload and choose “Edit -> Selected artworks -> Export to CSV” from main menu or from the actions toolbar in the main window.

Now the easiest way to proceed is to select a “Shutterstock Video” template (one of the read-only CSV template examples) and press Export. Now you need to select a directory for the CSV file for Xpiks to save.
After the export is finished you can find this file in the previously selected directory.
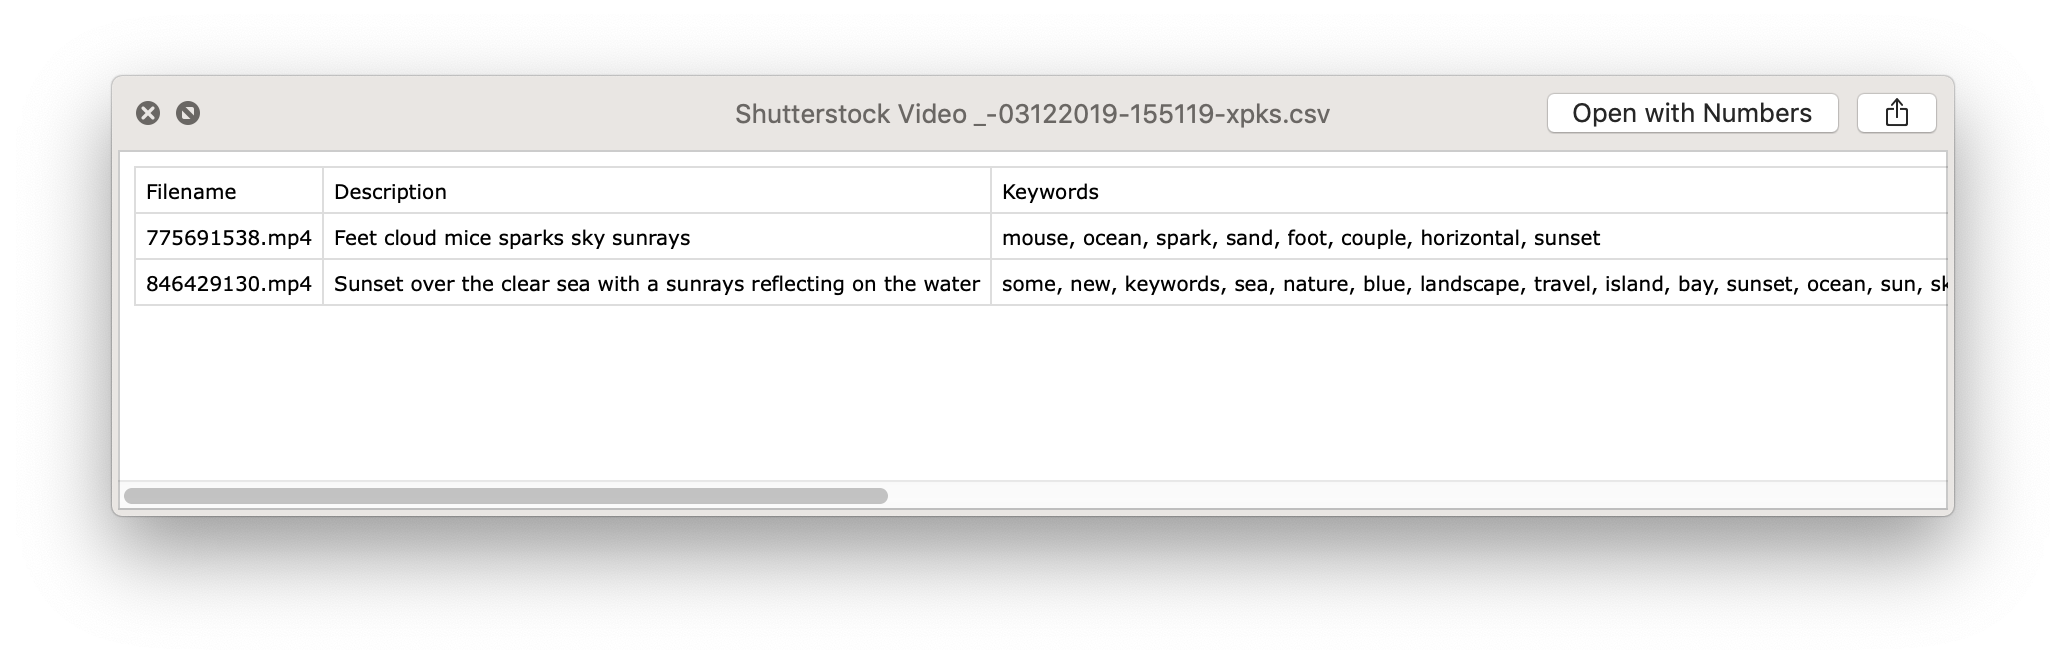
Current list of columns that Shutterstock requires for video is: Filename, Description, Keywords, Categories, Mature content and Editorial.
This CSV file generated by Xpiks has few columns without values: Categories and Editorial. You can upload it as is and change these values in Shutterstock Contirbutor Portal or you can open any spreadsheet editor like Google Documents or LibreOffice or Numbers on macOS and change these values.
If the video is Editorial you can set “Yes” in the appropriate cell and if you want to add a category, you can add one of the following: Abstract, Animals/Wildlife, Arts, Backgrounds/Textures, Beauty/Fashion, Buildings/Landmarks, Business/Finance, Celebrities, Education, Food and Drink, Healthcare/Medical, Holidays, Industrial, Interiors, Miscellaneous, Nature, Objects, Parks/Outdoor, People, Religion, Science, Signs/Symbols, Sports/Recreation, Technology, Transportation, Vintage.
Categories and other fields will be fully supported in Xpiks in version 1.7 and for now I recommend setting them after upload.
Upload video files to Shutterstock
Usually you can upload your artworks in the browser, but Shutterstock requires to upload video via FTP because video files can be very big. FTP (File Transfer Protocol) is one of the ways of communication over the internet (e.g. just like you use HTTP protocol via your browser to read this page). Software that can speak FTP is usually called “FTP client”. Some examples are FileZilla and Cyberduck.
Luckily you can upload all your video right from Xpiks, because Xpiks is also an FTP client. Just select the video files and click “Upload”.
In order to upload files via FTP you need to know the address of the receiver of your files. In case you’re uploading in Xpiks, it will add the address automatically when you will select Shutterstock from the list. Just add your username and password and you are good to go.
Also I recommend using “Test connection” button to check if your username and password are correct and there’re no other connectivity issues. Finally, press “Start Upload” and wait until it will finish.

Your videos in Shutterstock portal
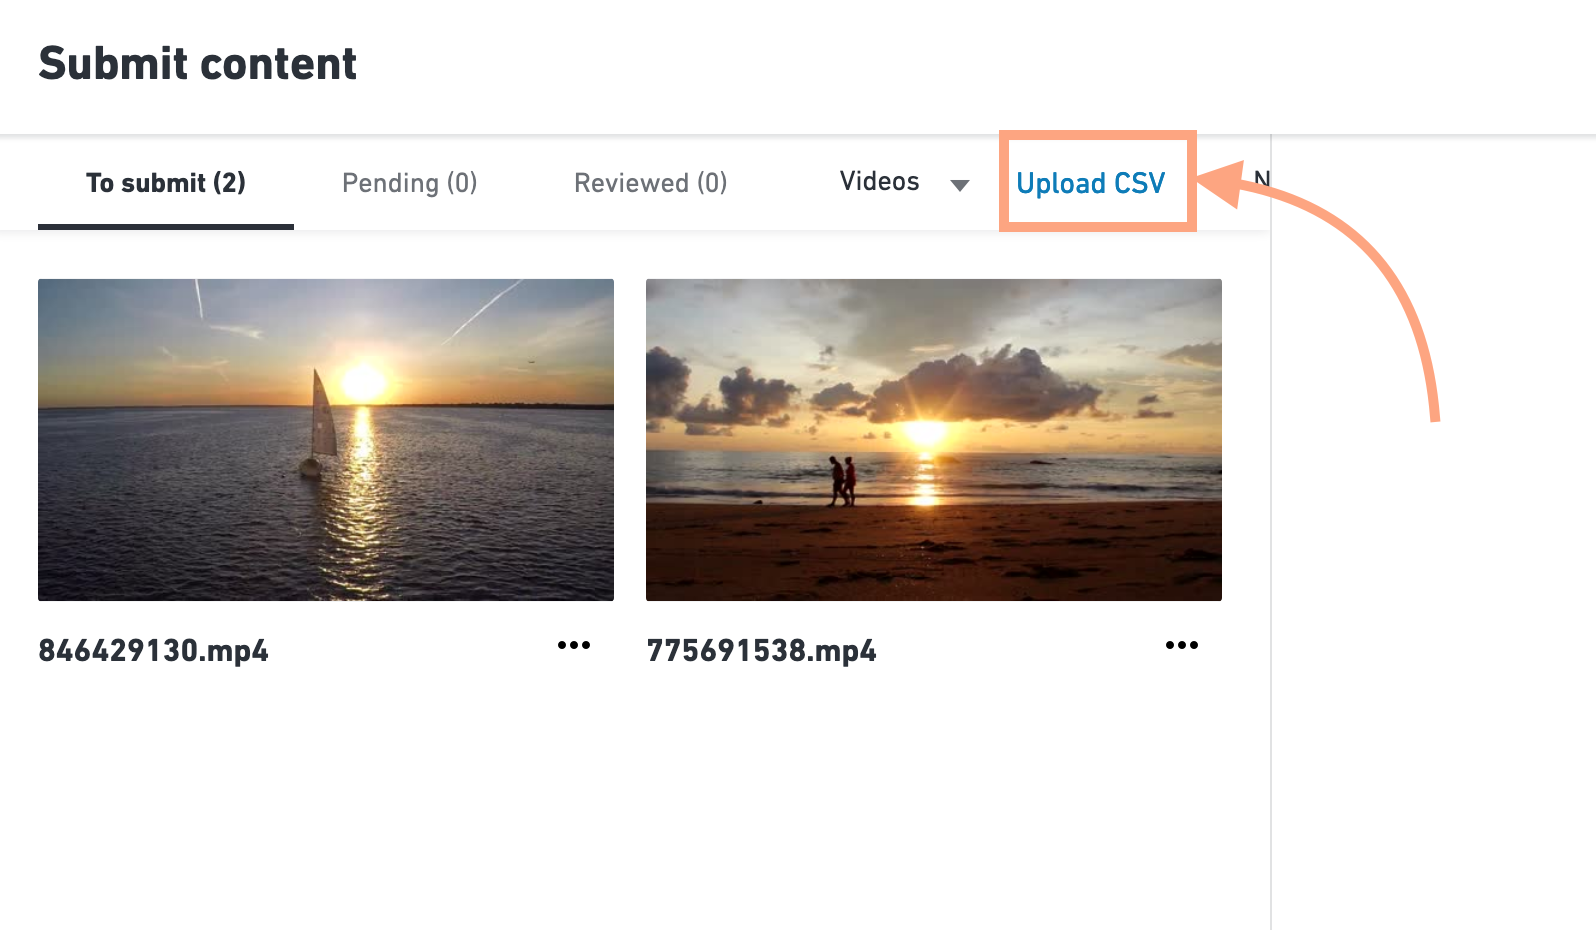
After upload finished you can head over to Contributor Portal (you can select in menu “Portfolio -> Submit content”) and see your files there. Allow few minutes for processing especially if your videos are large. After processing is finished, your files will show up there (don’t forget to switch to videos):
Submit your videos for review
In order to submit your videos for review, first you need to add metadata to them. Now you can upload CSV file that you generated before.
After it is processed by Shutterstock, each file will get Keywords and Description that you entered in Xpiks before.
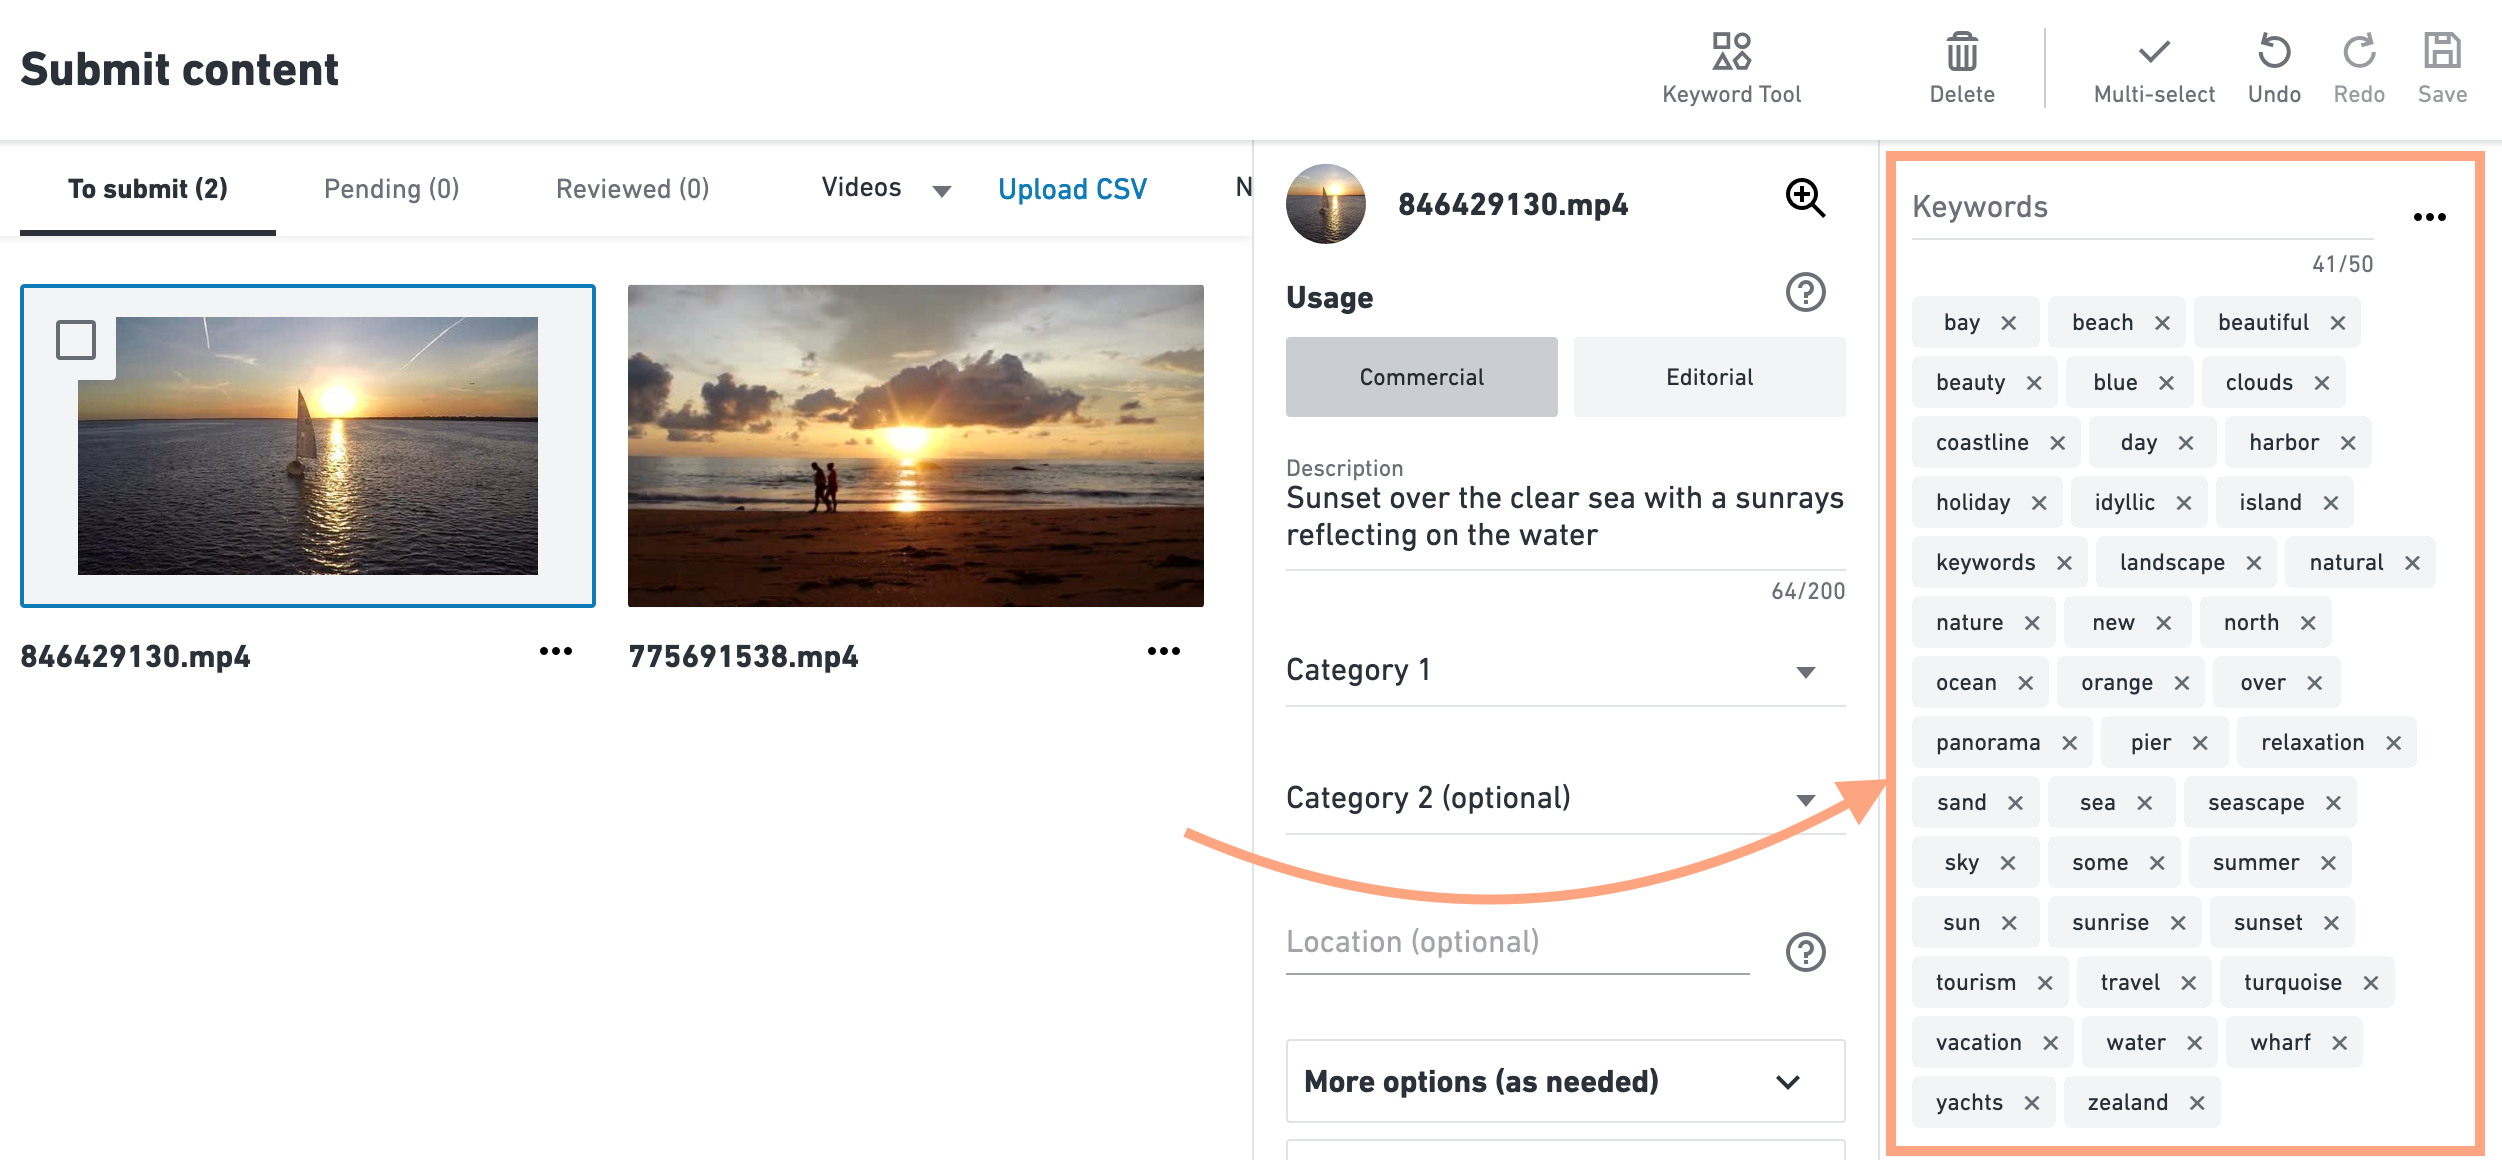
Here you can finish your metadata editing if there’s any to do. For example you can select a file and assign a category or set an editorial status:
After you are satisfied with the metadata, just select your uploaded files and press “Submit”. Your files will be added to the review queue and you will receive an email when your files will get reviewed by Shutterstock inspectors.
Useful links
- Full guide on microstock video
- How to use CSV export like a pro - see Xpiks tutorial on CSV
- Cloud upload